How to Geotag Photos for SEO, Local Businesses, and Photographers
If you spend enough time around SEO forums, local marketing groups, or photography communities, photo geotagging starts to sound like a secret weapon. It isn’t. Google’s published image SEO guidance puts much more weight on fundamentals like crawlable <img> elements, descriptive filenames, useful alt text, relevant page context, structured data where it makes sense, image quality, and page speed. Google Search Advocate John Mueller has also said there is “No need to geotag images for SEO.” If you expect latitude and longitude alone to move rankings, you’re asking too much from one metadata field.
That does not make geotagging pointless. It makes it contextual. Geotagging adds location information to the file itself, which helps photographers organize work, helps local businesses manage image libraries with location context, and gives SEO teams a cleaner metadata workflow around photos that already need filenames, descriptions, captions, and compression. Used that way, geotagging becomes practical instead of magical.
What geotagging actually means
At the file level, geotagging usually means writing GPS metadata into an image—most often latitude and longitude in the EXIF GPS tags. Those GPS tags live in a dedicated EXIF IFD, while IPTC and XMP can carry other useful metadata such as captions, keywords, creator fields, copyright, and licensing information. That matters because good image workflows rarely stop at coordinates. If you publish original work online, descriptive and rights-related metadata can matter too: Google documents support for IPTC photo metadata and structured data for image metadata features, and IPTC documents how Google Images can display creator, credit line, copyright notice, and licensable information when the right fields are embedded.
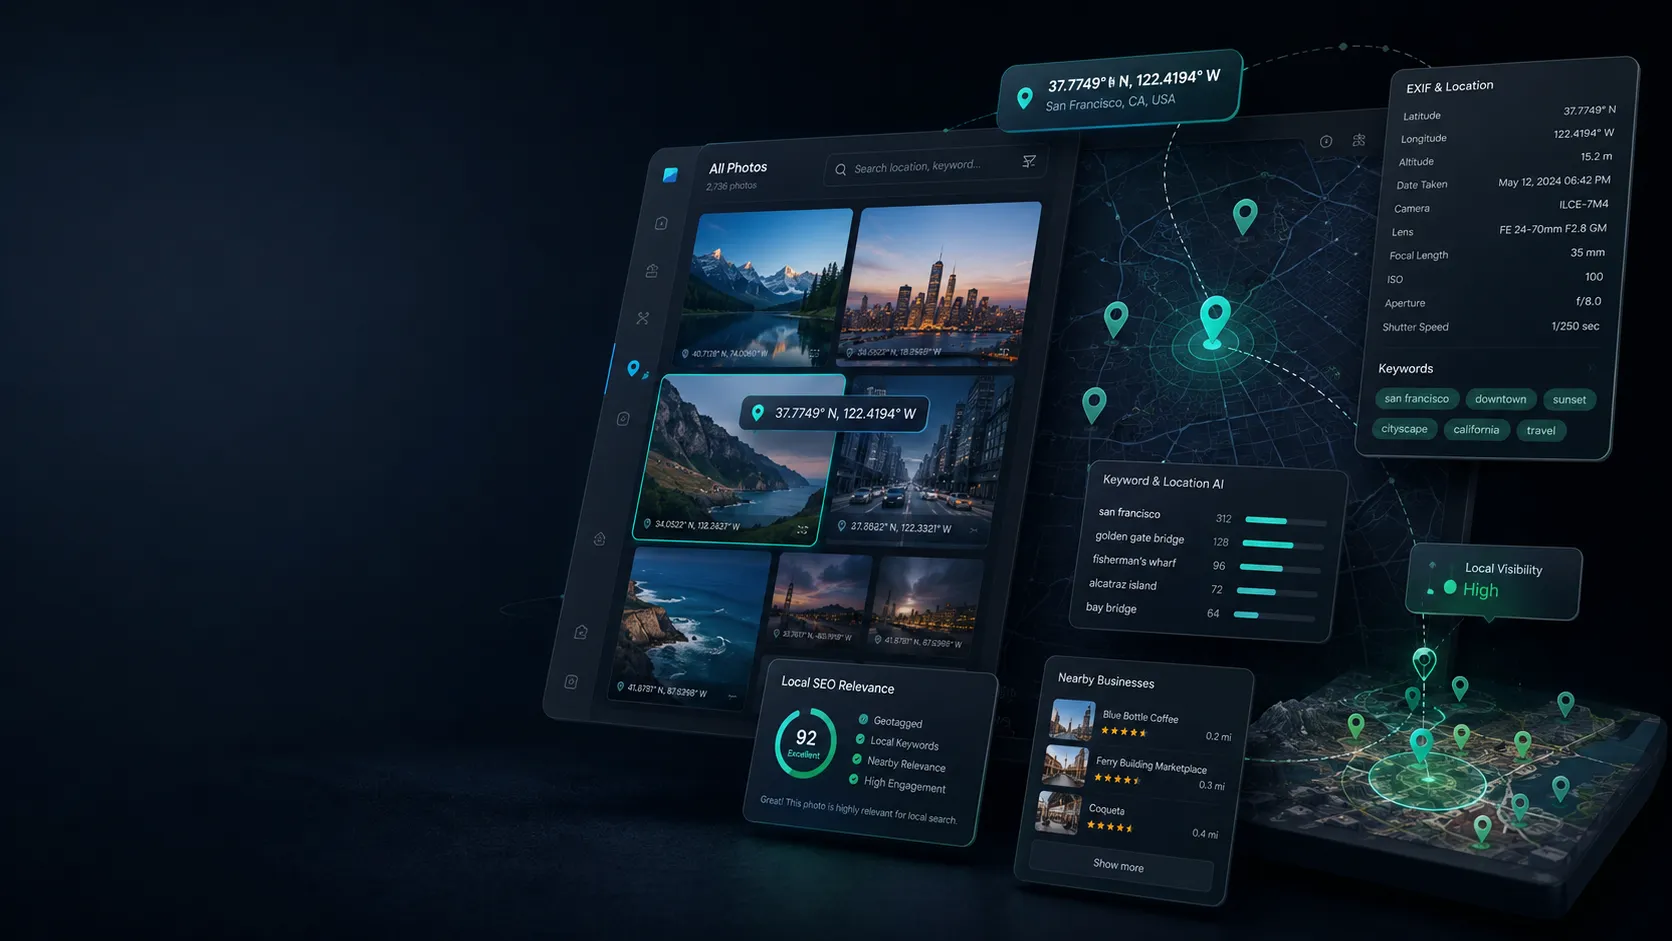
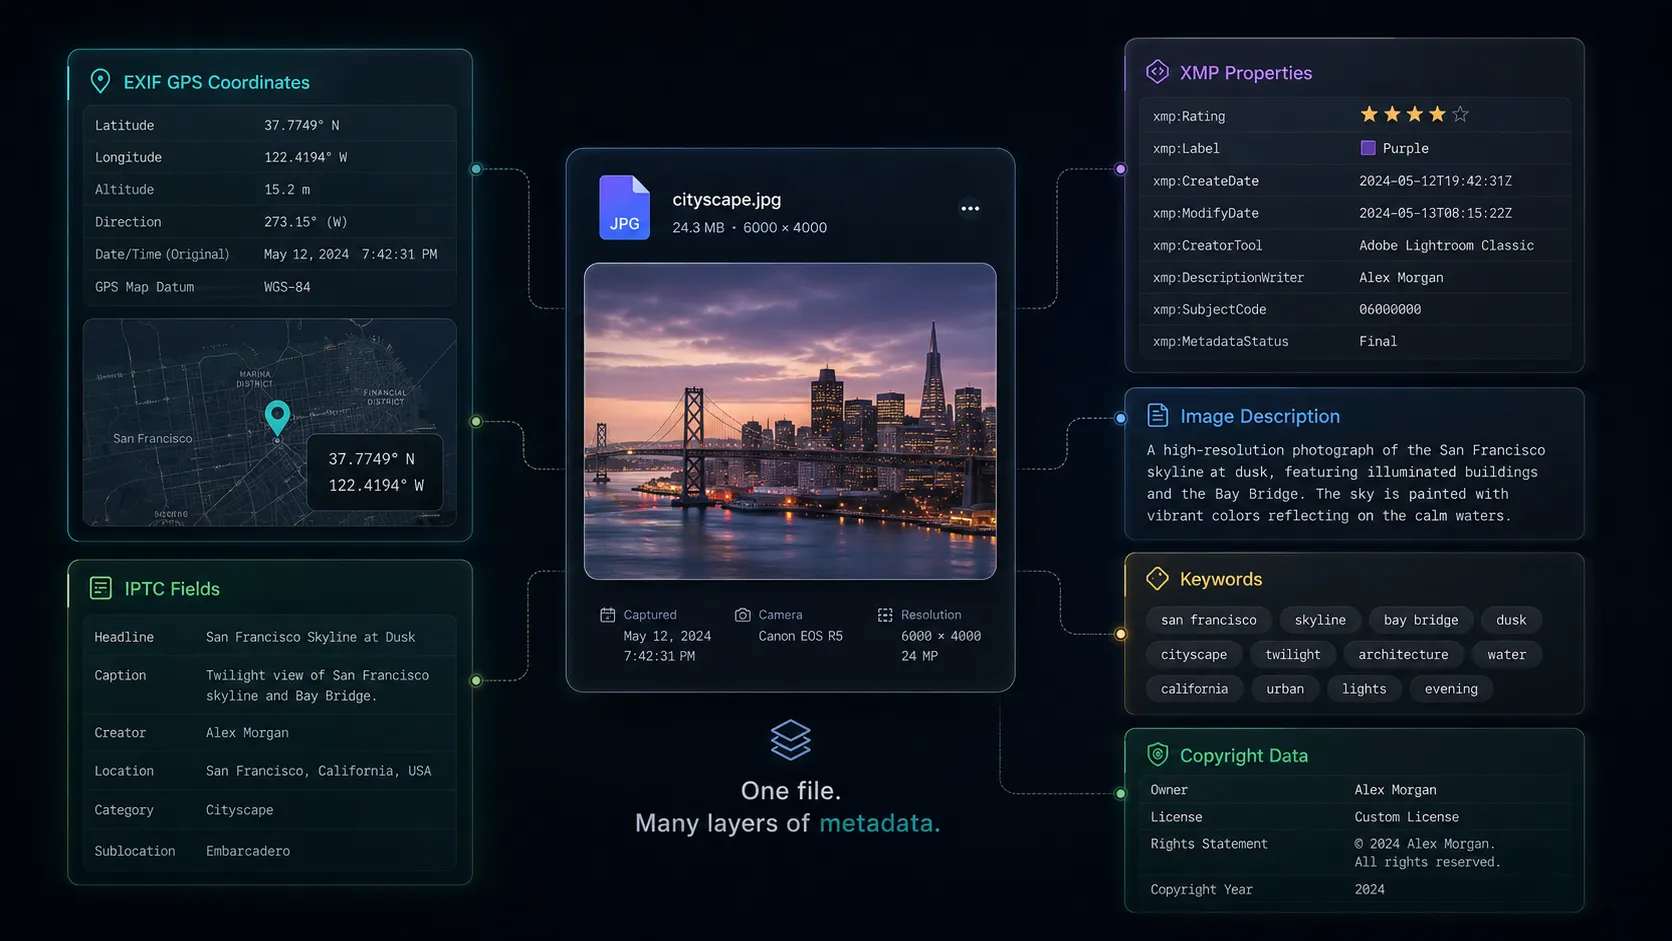 Diagram-style illustration of a photo file with EXIF GPS tags, IPTC fields, XMP metadata, and map-based geolocation overlays
Why geotagging still matters
For SEO teams and site owners, geotagging is best thought of as a support layer. The real wins still come from the webpage: standard image markup, filename quality, alt text, nearby explanatory copy, structured data, and fast delivery. But a location-aware image workflow can make it easier to keep assets organized, produce better captions and descriptions, and maintain consistent image metadata across multiple locations or campaigns.
For local businesses, the value is often operational. A roofing company, restaurant, clinic, or law office may need storefront photos, office images, service-area photos, or job-site documentation that is tied to a real location. Google Business Profile still expects practical basics—JPG or PNG files, 10 KB to 5 MB, recommended 720 × 720 resolution, and images that are in focus, well lit, and representative of reality. Geotagging can support that workflow by keeping location context attached before the photo is uploaded to your site, directories, or internal archive.
For photographers, the upside is even more tangible. Apple Preview can show where a photo was taken when GPS data exists, and Lightroom Classic’s Map module can plot photos with embedded coordinates, add locations manually, or auto-tag images from a GPX track log while accounting for time offsets. That is useful for travel shoots, client work, documentary projects, stock archives, and any library where location is part of the asset’s meaning.
How to geotag photos step by step
Check whether the photo already has location data
Start by verifying what is already in the file. Many phones automatically write GPS metadata at capture time. Apple’s Preview can show a location on a map if GPS info exists, Lightroom can surface GPS fields in its metadata panel, and GeoImageTagger’s free Metadata Viewer can inspect EXIF, GPS, IPTC, XMP, camera data, descriptions, tags, and raw JSON directly in the browser. You don’t want to overwrite accurate metadata just because you didn’t check first.
Add or correct the location
If the file has no location—or the location is wrong—you have several options. Apple Photos on Mac lets you add, change, copy, paste, or remove location data from selected photos. Google Photos lets users add a location to backed-up photos, and it also explains how location sharing works. Lightroom Classic supports manual placement on the map and GPX-based auto-tagging. If you want a browser-based workflow, GeoImageTagger is designed around the exact sequence most teams need: upload photos, detect or set location, generate tags and descriptions, review everything, write metadata, then download tagged images, ZIP bundles, or CSV summaries.
A local business example makes this easier to picture. Say you run a plumbing company in Dallas and want to publish an image from a real customer job. You can set the coordinates to the service location, make sure the filename reflects the task and place, write a plain-English description, and keep the image associated with the right city or neighborhood page. None of that replaces local SEO fundamentals, but it gives the asset much more structure than a file called IMG_4827.jpg.
Add supporting metadata people and search engines can actually use
Coordinates are not enough on their own. Google says the filename gives light clues, alt text is especially important metadata, and the content and metadata of the page where the image appears can strongly influence how and where the image shows in Google Search. So after you geotag the image, do the rest of the work: rename the file, write natural alt text, add a caption where helpful, and place the image on a page with relevant copy. If you are a photographer or publisher, add creator, credit, copyright, and licensing fields where appropriate, because Google Images can use IPTC photo metadata for those details.
A better image package looks something like this: a file named lincoln-park-bakery-storefront-chicago.jpg, alt text like “Front entrance of a neighborhood bakery in Lincoln Park, Chicago,” a short caption on the page, and a location page that actually discusses that business or neighborhood. That is coherent. The geotag supports the story, but the page tells Google and the user what the image means.
Export in the right format without losing metadata
Publishing-friendly file handling matters because performance matters. Google explicitly notes that sharp, high-quality images can increase appeal in result thumbnails, but image weight is often one of the largest contributors to page size. That means compression and format conversion are not optional extras for most sites. GeoImageTagger’s Image Compressor and Image Converter are useful here because both tools are built around metadata preservation, including EXIF, GPS, IPTC, and XMP, while helping you reduce size or convert between JPG, PNG, WebP, and HEIC/TIFF workflows.
How to make geotagged photos useful for search
The part Google clearly documents is the webpage layer. Use a standard <img> element instead of burying important images in CSS backgrounds. Write alt text that is descriptive, not stuffed. Keep filenames short but meaningful. Put the image near relevant text. Add structured data where applicable, and make sure structured data matches what is visible on the page. If you publish a lot of images, consider image sitemaps and make sure your image URLs are crawlable and indexable. That is the foundation that supports visibility in both classic Search and Google’s AI-driven search features.
For local businesses, remember that Google Business Profile has its own practical rules. Before uploading, make sure the file is in an accepted format, properly sized, and visually trustworthy. For your own website, pair geotagged images with pages that mention the location naturally—city pages, service pages, office-location pages, event pages, portfolio pages, or case studies. Geotagging by itself is thin. Geotagging inside a strong page with clear local context is much more useful.
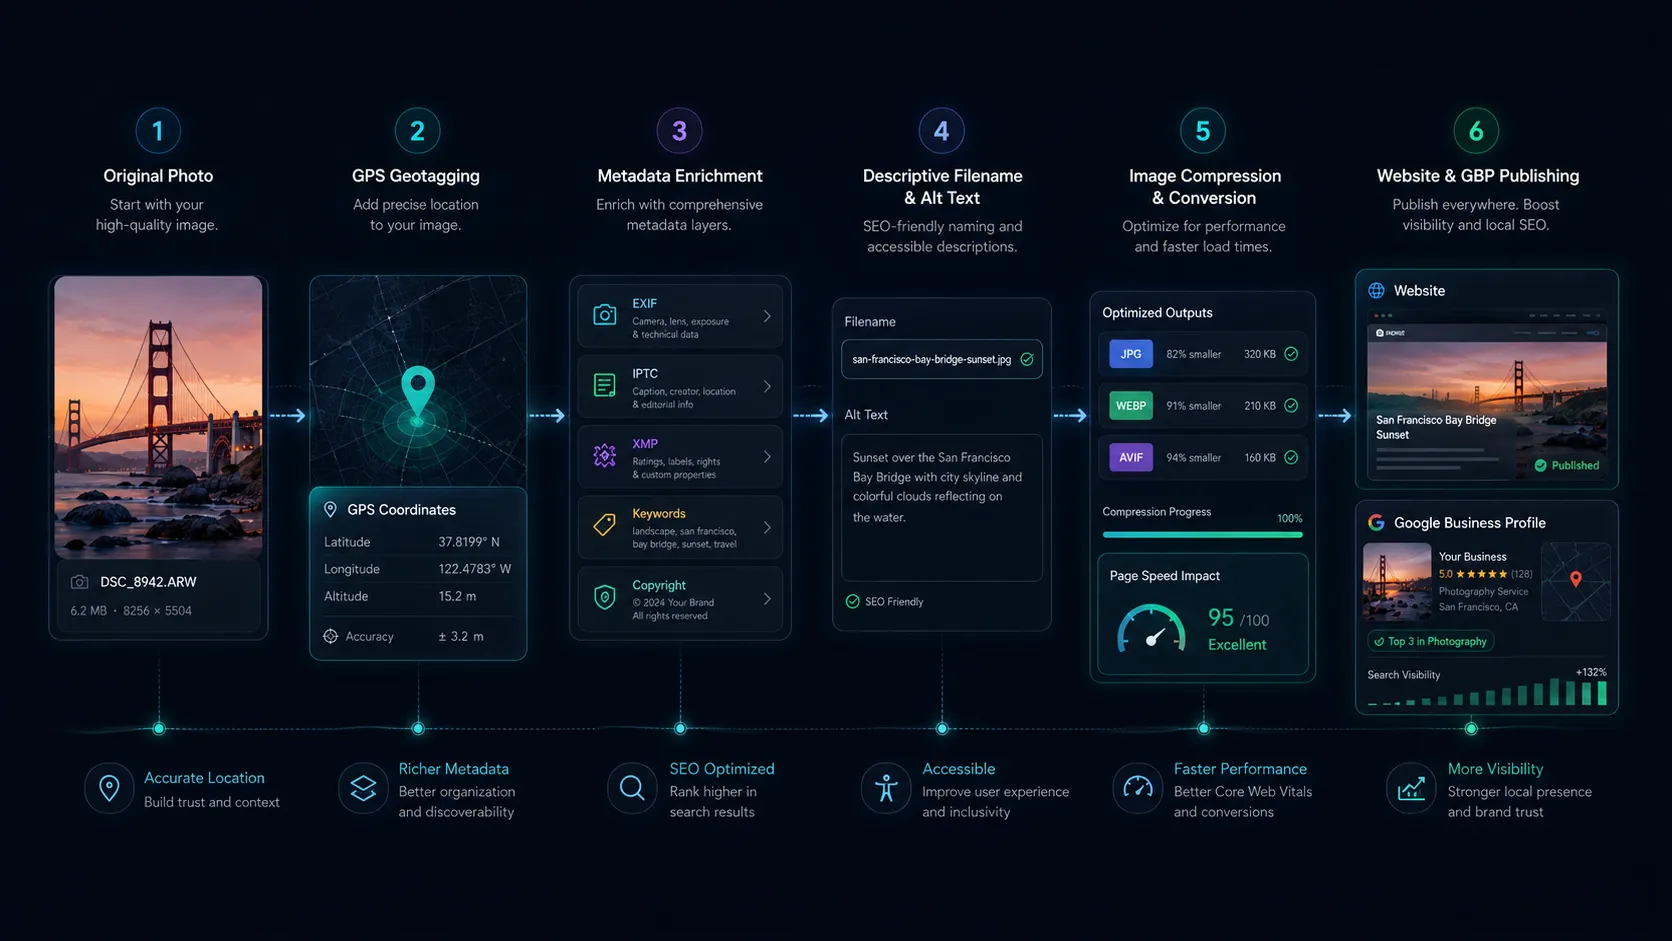 Workflow illustration showing photo geotagging, alt text, filenames, compression, structured data, and website publishing steps
Common mistakes to avoid
The biggest mistakes are predictable: treating geotagging like a shortcut, writing inaccurate coordinates, leaving filenames as camera defaults, stuffing alt text with keywords, compressing or converting files through a pipeline that strips metadata, and forgetting privacy. Apple documents how to remove location metadata or share photos without location, and Google Photos keeps locations private by default unless users explicitly choose to include them in some sharing contexts. If the image reveals a home address, a private client site, or any sensitive routine, strip the location before sharing it publicly.
A faster workflow with GeoImageTagger
If you want to streamline this process, GeoImageTagger gives you a practical browser workflow rather than a single-purpose editor. The main platform at GeoImageTagger focuses on AI-assisted photo geotagging, EXIF/IPTC/XMP writing, manual map pinning, bulk ZIP/CSV exports, and AI-generated descriptions and tags.
The Features page explains the platform's capabilities, the How It Works page walks through the workflow, and the Pricing page covers available plans.
If you want supporting tools around that workflow, visit the Tools Hub. You can inspect image metadata with the Metadata Viewer, optimize files using the Image Compressor, and convert formats with the Image Converter.
You can also edit or correct GPS coordinates, copyright, and IPTC fields directly with the EXIF Metadata Editor, or use the AI Location Finder to identify where a photo was taken using AI visual analysis when no GPS data exists.
Frequently asked questions
Does geotagging directly improve Google rankings?
Not in any way Google publicly documents. Google’s image SEO guidance emphasizes crawlability, filenames, alt text, page context, structure, quality, and speed, and John Mueller has said there is no need to geotag images for SEO. The smartest way to use geotagging is as one part of a broader image publishing workflow.
Can I geotag photos after they were taken?
Yes. Apple Photos supports adding or changing a location, Google Photos supports adding a location to backed-up photos, Lightroom can add GPS data manually or through GPX track logs, ExifTool can write GPS information into EXIF and update XMP where relevant, and GeoImageTagger supports manual and AI-assisted workflows in the browser.
What metadata matters besides GPS coordinates?
For search and usability, the essentials are usually a descriptive filename, a useful alt attribute, relevant page copy, and a caption or description when it adds clarity. For photographers and publishers, IPTC and XMP fields for creator, credit, copyright, and licensing can also matter because Google Images can use that information.
Will compression or conversion remove my metadata?
Sometimes, yes. That depends on the tool and export path. GeoImageTagger’s Compressor and Converter explicitly document metadata preservation and verification for EXIF, GPS, IPTC, and XMP, which is exactly why metadata-aware optimization tools matter in real workflows.
Should photographers ever remove geotags?
Absolutely. If the image exposes a private residence, a child’s school, a confidential client site, or a sensitive travel routine, removing location metadata is often the right move. Apple and Google both document controls for hiding, removing, or not sharing location metadata.
If you want a workflow that covers more than just coordinates, start with GeoImageTagger, review the complete process on the How It Works page, inspect existing files with the Metadata Viewer, and use the Image Compressor and Image Converter to prepare web-ready assets without losing important metadata.
Conclusion
Photo geotagging works best when you stop treating it like a loophole and start treating it like craftsmanship. Add accurate location data when it serves the image. Pair it with readable filenames, useful alt text, page context, and fast formats. Preserve your metadata through compression and conversion. Remove geotags when privacy matters. Do that consistently, and your photos become easier to manage, easier to trust, and more useful for both people and search systems.
← Back to Blog